The Quest So Far
After leaving the valley of fantastically beautiful flowers (Episode 1), our heroes found the landscape becoming steadily harsher. The sweet fragrance of blossoms gradually gave way to the smell of damp decay, although traces of rich honey still lingered in the air. They entered an overgrown dell where the sand had become wet and muddy beneath their feet. Moss-covered rocks littered the ground, with patches of scrub providing the only cover.
The Home of Honey, Bees and Cyclops
Ahead stood three crude huts. In front of two of them towered enormous Cyclopes, shouting and waving their clubs at something only they could see in the distance. Even with their single eye, they appeared remarkably alert.

Diomedes quickly formed a plan. The archers would remain at a safe distance, peppering the Cyclopes with arrows to distract them, while the swordsmen circled around the right flank. Once in position, they would overwhelm each giant through the weight of numbers.
The plan worked surprisingly well—at first.
The archers shot with remarkable accuracy, and before long, one Cyclops resembled an oversized pincushion. Yet, despite the number of arrows protruding from his body, the giant seemed barely affected. He continued hurling huge rocks towards the advancing heroes. Soon, his brother joined in, although both giants proved to be rather inaccurate.

Larger than the other two and far better armed, he carried a sword that would have required two hands for any ordinary man. As he lumbered towards the battle, the harpy wisely abandoned the fight and flew towards Atalanta and the other archers.
It proved to be a fatal mistake.
Atalanta calmly drew her bow, loosed a single arrow, and the harpy tumbled lifeless from the sky. How long could she keep her heritage secret from her friends and companions, she wondered?
Near the huts, the struggle with the remaining Cyclopes intensified. Diomedes and his companions finally brought down one of the giants, but the other fought stubbornly on, sweeping his enormous stone axe over the heads of the surrounding warriors.

The first exchanges were inconclusive. Even supported by his companions, Diomedes struggled to penetrate the giant's defences. The great Cyclops fought with terrifying skill, his immense sword forcing the heroes backwards.
Then came a moment of divine intervention.
Athena touched Diomedes with her blessing, restoring his strength completely. Filled with renewed courage, he leapt forward in a single fluid movement. His sword flashed through the air in a mighty arc.
A perfect strike (a critical hit!).
The blade bit deep, severing the Cyclops' head from his shoulders in a single, devastating blow.
The valley fell silent.
With the giants defeated, there remained only one sensible course of action.
Run.
The giant bees were now thoroughly agitated, and there was little treasure worth dying for.
This was my second game, and I am still learning the rules. Although I enjoyed the experience, I found it frustrating that important keywords are spread across both rulebooks. A quick-reference guide or set of monster cards would make the game flow much more smoothly.
I would also strongly recommend writing as much information as possible directly onto each character sheet—not just the abilities themselves, but brief reminders of what those abilities actually do. It would save a great deal of rulebook searching during play and keep the action moving.
After this adventure, the heroes will have to take a break while I find some 'Sons of Posiedon'. I have seen a couple of standalone episodes, so they may be my next stop.
Battle Summary box (Victory, Injuries, Treasure Found, Divine Favour),
and a Lessons Learned section at the end. Those additions give readers both the story and the game mechanics, making the reports engaging for gamers and general readers alike.

Diomedes and his Company
Diomedes quickly formed a plan. The archers would remain at a safe distance, peppering the Cyclopes with arrows to distract them, while the swordsmen circled around the right flank. Once in position, they would overwhelm each giant through the weight of numbers.
The plan worked surprisingly well—at first.
The archers shot with remarkable accuracy, and before long, one Cyclops resembled an oversized pincushion. Yet, despite the number of arrows protruding from his body, the giant seemed barely affected. He continued hurling huge rocks towards the advancing heroes. Soon, his brother joined in, although both giants proved to be rather inaccurate.
The Harpy
Just as the warriors began to close the distance, the beating of wings echoed overhead. A harpy swooped down, attempting to snatch Xanthe's sword. Fortunately, the creature's strength was no match for the determined warrior, who threw it aside. Nevertheless, the attack served as a warning: the Cyclopes were not the only danger lurking in this strange valley.
With fresh urgency, Diomedes led his companions forward. The crashing of rocks and thunderous footsteps disturbed the enormous bees near the huts, and they swarmed angrily. One of the Cyclopes hurled a massive boulder that crashed into Diomedes' shield. For a normal man, this would have ended in death, but for a son of a god, he remained standing with a sore shoulder, his arm hanging uselessly by his side.
With fresh urgency, Diomedes led his companions forward. The crashing of rocks and thunderous footsteps disturbed the enormous bees near the huts, and they swarmed angrily. One of the Cyclopes hurled a massive boulder that crashed into Diomedes' shield. For a normal man, this would have ended in death, but for a son of a god, he remained standing with a sore shoulder, his arm hanging uselessly by his side.

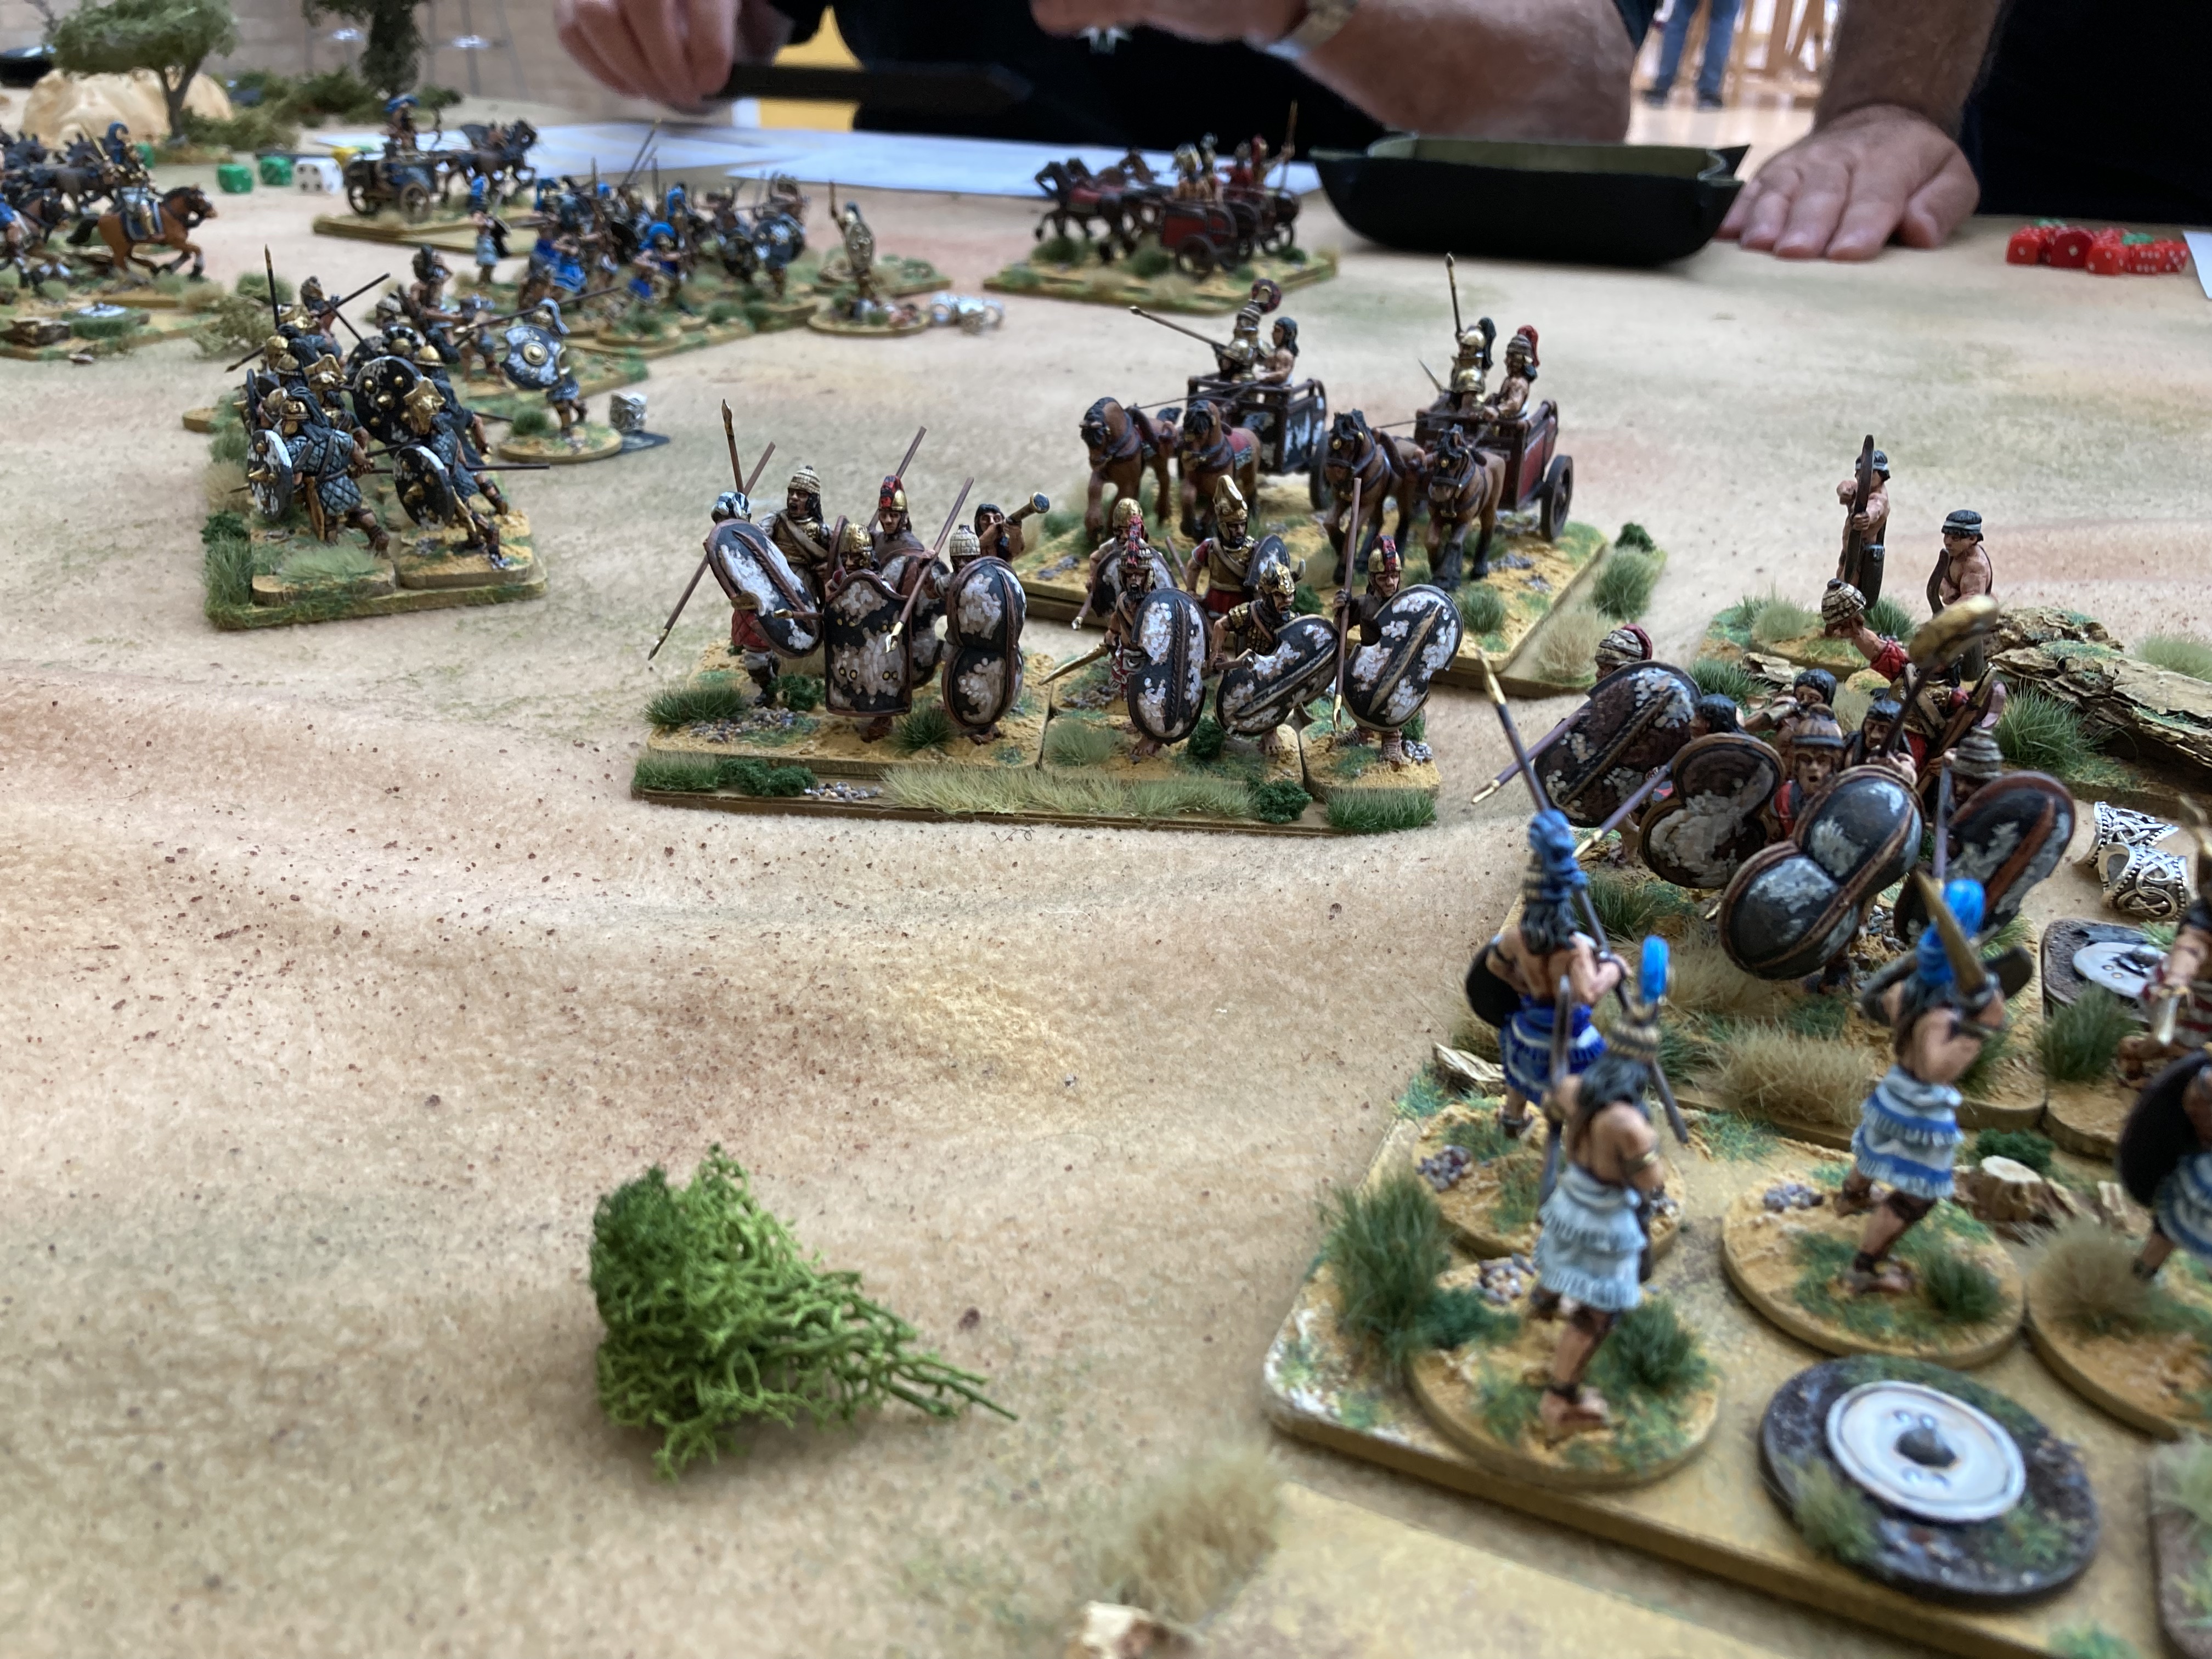
Diomedes, Xanthe and Menelaus fight Ceraos. Iolaus stands back with his eye on the huts.
The Sea God Rumbles
Then another sound rolled across the valley—a deep rumble, like a team of horses galloping through crashing surf. The Cyclopes smiled, seemingly invigorated by the mysterious noise.
Had Poseidon himself come to his offspring's aid?
The situation suddenly looked far more dangerous.
Meanwhile, the old man of the troop, Aegisthus, found himself locked in combat with the harpy as it swooped repeatedly from behind the rocks, claws slashing wildly. Aegisthus, taken by surprise, was clawed down his back, falling to the ground covered in blood.
Then an even more terrifying sight emerged.
Molebos - The Elder Brother Arrives.
A third Cyclops, the oldest of the brothers, appeared.
Larger than the other two and far better armed, he carried a sword that would have required two hands for any ordinary man. As he lumbered towards the battle, the harpy wisely abandoned the fight and flew towards Atalanta and the other archers.
It proved to be a fatal mistake.
Atalanta calmly drew her bow, loosed a single arrow, and the harpy tumbled lifeless from the sky. How long could she keep her heritage secret from her friends and companions, she wondered?
Near the huts, the struggle with the remaining Cyclopes intensified. Diomedes and his companions finally brought down one of the giants, but the other fought stubbornly on, sweeping his enormous stone axe over the heads of the surrounding warriors.

Iolaus, Honey and a Beautiful Maiden
While the fighting raged, Iolaus, always careful to be useful without being injured, quietly slipped away to investigate the huts. His first discovery was a large pot of honey. Unable to resist, he sampled it—and then another taste, and another. Surely this was the Honey of the Gods! Sensibly deciding that meddling with divine delicacies was unwise, he reluctantly put the pot down and continued searching the remaining huts. The second hut proved unrevealing, but in the last of the cyclops abodes, he found a beautiful young girl tied up, one must assume as a future delicacy.
Athena's Touch
Back at the battle, the heroes eventually surrounded and slew the second Cyclops. Unfortunately, the noise had stirred the giant bees into a furious swarm, while the last and greatest of the three brothers charged into the fray.
The first exchanges were inconclusive. Even supported by his companions, Diomedes struggled to penetrate the giant's defences. The great Cyclops fought with terrifying skill, his immense sword forcing the heroes backwards.
Then came a moment of divine intervention.
Athena touched Diomedes with her blessing, restoring his strength completely. Filled with renewed courage, he leapt forward in a single fluid movement. His sword flashed through the air in a mighty arc.
A perfect strike (a critical hit!).
The blade bit deep, severing the Cyclops' head from his shoulders in a single, devastating blow.
The valley fell silent.
With the giants defeated, there remained only one sensible course of action.
Run.
The giant bees were now thoroughly agitated, and there was little treasure worth dying for.
Episode Summary
This was a good game for team Diomedes, and thirty-six experience points were won. Although the downside was the knockout of Aegisthus. Thankfully, he fully recovered, just another scar to add to his story written across his body.
The characters' stories have also started to make them three-dimensional.
Aegisthus - the quite old warrior with hidden strength and willing to sacrifice himself for Diomedes.
Xanthe - the female warrior with a temper
Iolaus - is he to be trusted? Will avoid danger to seek out hidden treasure.
Atalanta - what is her mystical past, and why is she so lethal with the bow?
Game Notes
I would also strongly recommend writing as much information as possible directly onto each character sheet—not just the abilities themselves, but brief reminders of what those abilities actually do. It would save a great deal of rulebook searching during play and keep the action moving.
Whats Next
Battle Summary box (Victory, Injuries, Treasure Found, Divine Favour),
and a Lessons Learned section at the end. Those additions give readers both the story and the game mechanics, making the reports engaging for gamers and general readers alike.


.jpg)


